Ledger.com/start — The Complete Beginner’s Guide to Setting Up Your Ledger Wallet
A fully detailed, visually rich, and beginner-friendly walkthrough for safely activating your Ledger hardware wallet and securing your crypto journey.
Introduction: Why Ledger.com/start Matters
Whether you own a Ledger Nano S Plus, Ledger Nano X, or Ledger Stax, this page serves as your gateway to secure crypto management. Think of it like unboxing a personal vault for your digital wealth—one that only you can unlock.
What Is Ledger.com/start?
It helps you:
- Download and install Ledger Live securely
- Initialize the hardware wallet
- Generate and protect your recovery phrase
- Add crypto accounts to your dashboard
- Understand how to transfer, receive, and stake assets
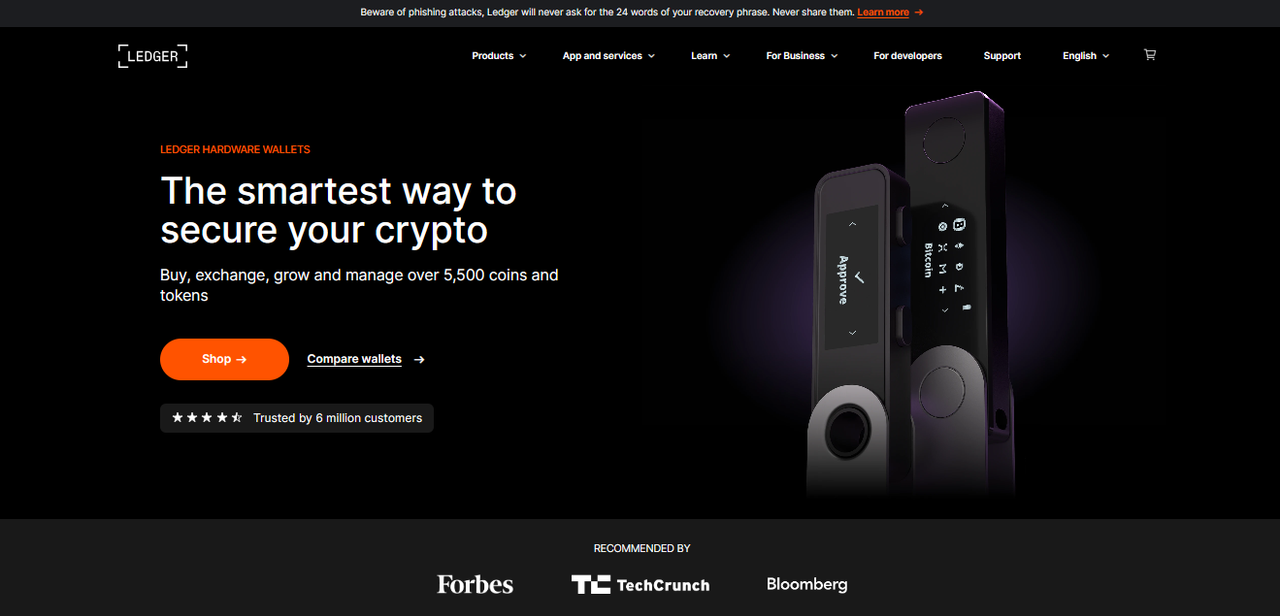
Hero Visual Highlight — Your Crypto Security Starts Here
This famous crypto maxim defines why a hardware wallet—and by extension, Ledger.com/start—is essential. When your keys belong to you, your crypto belongs to you. Exchanges can freeze accounts, get hacked, or disappear, but your Ledger device puts full control in your hands.
Step-by-Step Setup Guide Using Ledger.com/start
Step 1: Visit the Official Setup Portal
Start by entering Ledger.com/start in your browser. This verifies that you are using the legitimate setup route. Avoid clicking ads or unofficial sites—security begins with correct navigation.
Step 2: Download Ledger Live
Ledger Live is the companion software for device management. From installing firmware to adding crypto accounts, it acts as your digital hub. Download the correct version for Windows, macOS, or Linux.
Step 3: Connect Your Ledger Device
Plug your Ledger wallet into your computer or pair via Bluetooth (Ledger Nano X only). The device screen will guide you through each action. Always follow the on-screen prompts carefully.
Step 4: Create a New Wallet
This is where your recovery phrase is generated. Write down all 24 words in the exact order. Never store it digitally, never share it with anyone, and never upload it online.
Step 5: Add Crypto Accounts
In Ledger Live, go to “Accounts” and add assets like Bitcoin, Ethereum, Solana, or stablecoins. Each account links directly to your hardware-protected keys.
Step 6: Receive and Send Crypto Safely
Whenever you receive crypto, always verify the receiving address directly on your Ledger device screen. This protects you from malware or clipboard-modifying viruses.
Comparison Table: Ledger vs. Software Wallets
| Feature | Ledger Hardware Wallet | Software Wallets |
|---|---|---|
| Key Storage | Offline in secure chip | Online on device |
| Security Level | Very high (hardware protected) | Moderate |
| Best For | Long-term storage & large holdings | Quick access & low amounts |
Frequently Asked Questions About Ledger.com/start
Is Ledger.com/start safe to use?
Yes. It is the official Ledger setup portal. Always type it manually instead of clicking unknown links.
Can I recover my crypto without my device?
Yes, the 24-word recovery phrase generated during setup allows wallet restoration on any Ledger device.
What if I lose my recovery phrase?
You cannot recover your wallet without it. Ledger cannot help you retrieve it. Store it extremely securely.
Does Ledger support staking?
Yes. You can stake various assets directly within Ledger Live depending on blockchain availability.
Final Thoughts: Why Ledger.com/start Is the Smart Beginning
By using Ledger, you combine hardware-level protection with user-friendly management through Ledger Live. Whether you plan to hold Bitcoin, Ethereum, NFTs, or diversify across chains, this setup marks your first confident step into self-custody.
When you control your keys, you control your crypto—fully, safely, and independently. That journey begins here, with Ledger.com/start.